This is a simple write-up, but I couldn’t find a walk-through on how to use a SAML IdP with a FortiGate SP to login to the FortiGate itself to enforce MFA on FortiGate admins. A lot of guides touch on adding SAML servers to the FortiGate to use in ZTNA Proxies or using a root FortiGate as a SAML IdP. But in this write-up, I’ll step you through using FortiAuthenticator as a SAML IdP and configure the FortiGate Security Fabric as a SP.
Configure SAML Identity Provider (IdP)
You can use any SAML IdP, but in this section I leverage FortiAuthenticator for this purpose and point it to my local store of users instead of a LDAP server:

The other settings in configuring the SAML IdP are out of scope of this post, but you can read up on our FortiDocs page for all the specifics: https://docs.fortinet.com/document/fortiauthenticator/6.6.2/administration-guide/817031/saml-idp.
Enable SAML for FortiGate Security Fabric
Our next step is to configure the FortiGate to use SAML for Single Sign-On. I’ll say that I first added a Single Sign-On server under User & Authentication, but that was the wrong location. And I’ll also say that I created a new SSO Admin under System > Admin, but that too was the wrong location. Instead, on your FortiGate under Security Fabric > Fabric Connectors > Security Fabric Setup, click the Advanced Options next to SAML Single Sign-On:

Configure the mode as Service Provider and specify your FortiGate’s SP address that the IdP will see where logins are initiated from it. For the default login page, you can select Normal where you are able to select between Single Sign-On or local login or enforce Single Sign-On only. And you can also specify the mapped admin profile for admins authenticating with SAML. Lastly, you’ll specify the IdP information, but don’t click OK quite yet:

Hop back to your SAML IdP of choice (i.e. FortiAuthenticator) and create a new Service Provider. Copy and paste your Service Provider (SP) URLs into your IdP. I also needed to create a SAML assertion attribute to map “username” to “Username”:

Test Single Sign-On
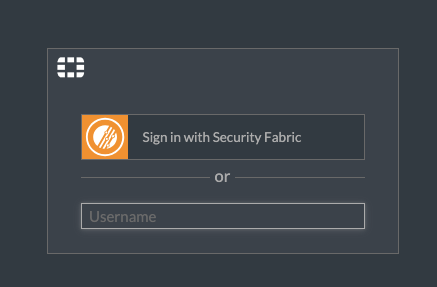
Open an Incognito browser and navigate to your FortiGate. Now you’ll see a new Sign in with Security Fabric option:

When you click the Sign in with the Security Fabric button, you’ll be redirected to the SAML IdP:

After successful login, you’ll be notified that the user created under System > Administrators > SSO Admins:


Conclusion
That’s a wrap! A pretty short walk-through, but one that will hopefully save you some time setting it up. Thanks for reading!
Andrew